ucsd-compfab
Week 2.1 - Laser to 3d: Stacked Contours
Agenda
- Artist of the Day
- Extruding Curves
- Example File: Extruding curves
- Video Demo: Extrusion
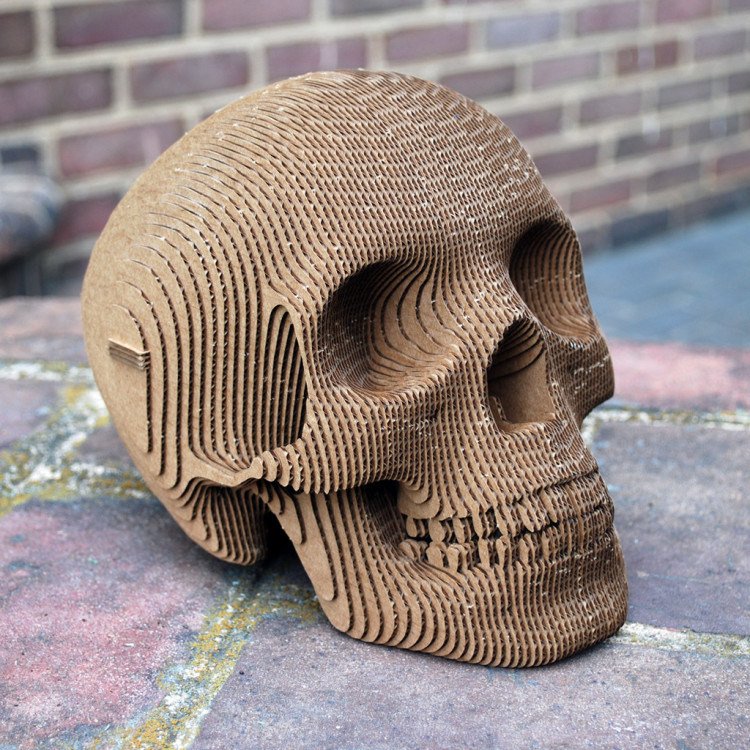
- Stacked Contours from a Mesh
- Working with meshes
- Example File: Creating Meshes
- Importing meshes
- Example File: Buffalo Contours
- Example File: Sliced Pikachu
- Video Demo: Extracting Contours from Mesh
- Working with meshes
- Homework
Artist(s) of the Day

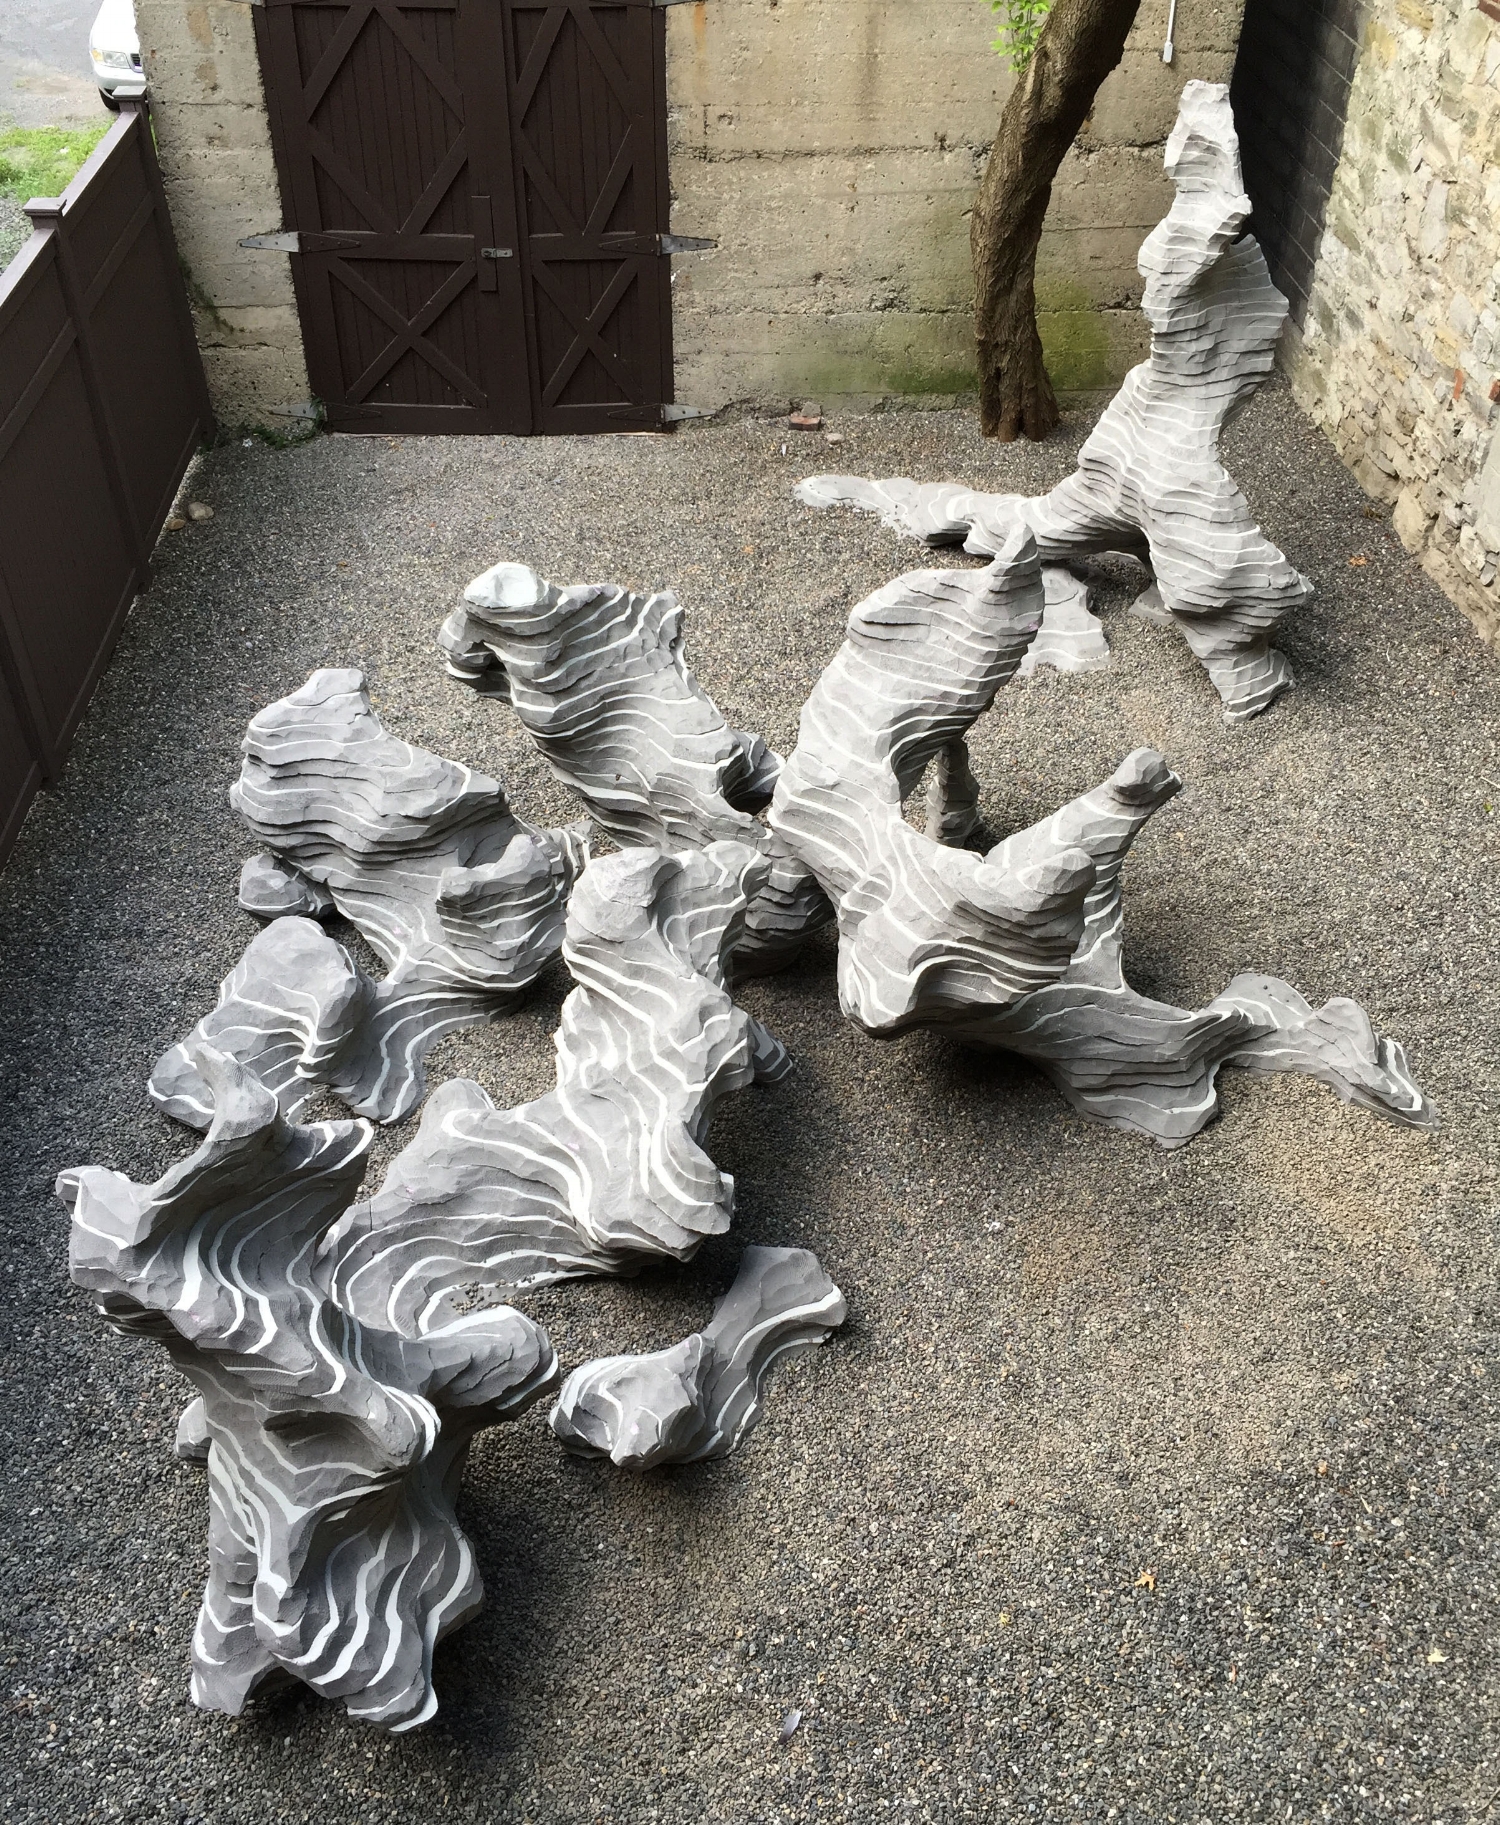
Ben Butler - various projects
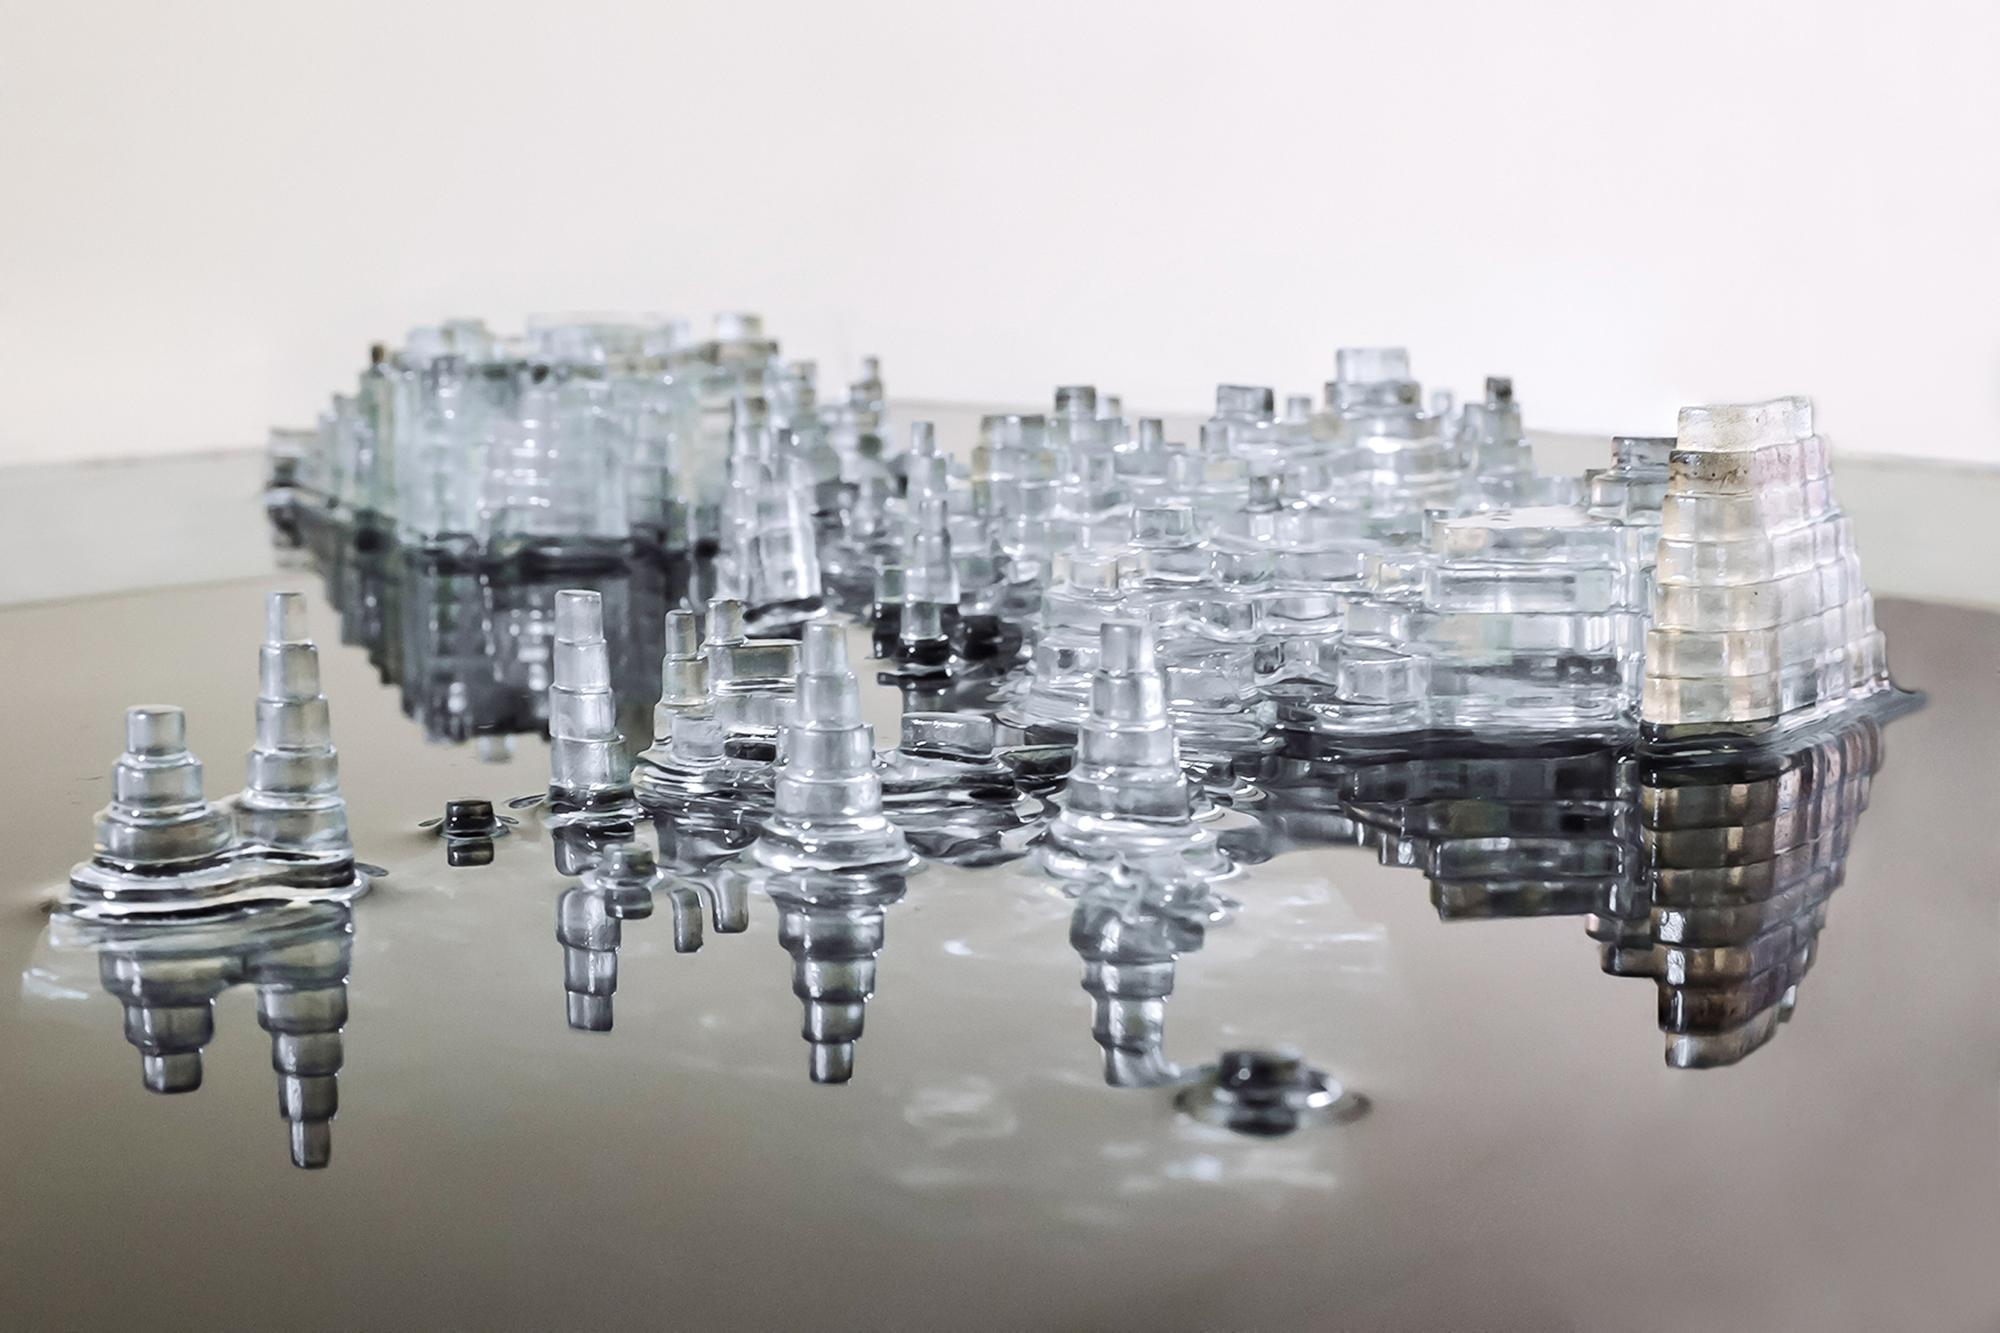
Ekene Ijeoma - Wage Islands
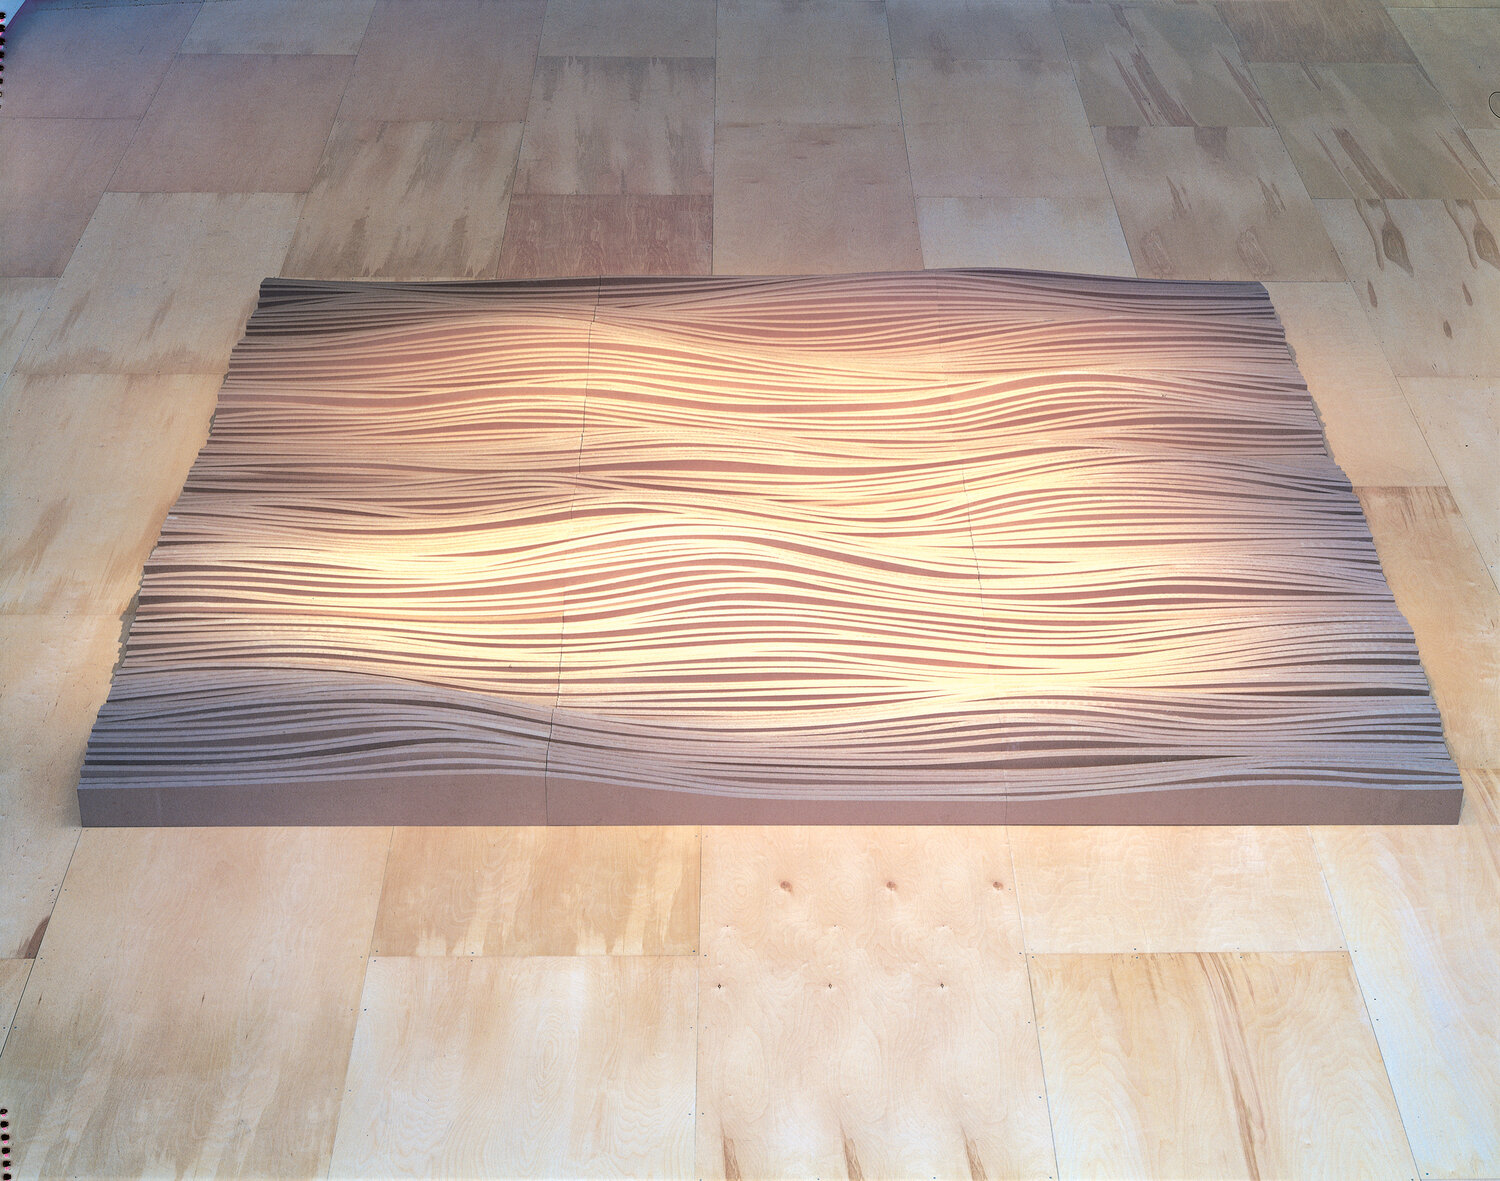
Maya Lin - Topologies
Extruding Curves
- We can extrude a 2d curve into 3 dimensions to see what it would look like as a flat object.
- ExtrudeCrv <— THIS IS OUR GOTO
- Load up your tab and slot construction from last week (or make a new one).
- If you have not already, join the perimeters for each of the pieces so that you have continuous outlines.
- Extrude the curves into three dimensions using Extrude Curve.
- Use the transformations and object snaps to assemble your pieces together into a virtual model:
- Take a screenshot (ViewCapture) and save to file.
- Rotate the viewport to capture a number of different vantage points.
- Experiment with the Display Options to choose an aesthetically pleasing render.
Example File: Extruding Curves

Rhino file: stacked_contours_offset.3dm
Workflow:
- draw some curves using the 2d drawing tools (Curve, Line, Trim/Join, etc.)
- Offset
- ExtrudeCrv
- Move the curves into position, stacking them vertically.
Video Demo: Extrusion
Extrusion Demo (google drive video)
Stacked Contours From Mesh
Working With Meshes
Solids vs. Meshes
- Solids
- what are they? (collections of surfaces)
- explode, cap
- when we export STL we are creating a mesh
- Meshes
- Create meshes directly
Example File: Creating Meshes

Rhino file: solids_meshes.3dm
Importing Meshes
- Importing - Import
- STL file - Stereolithography (wikipedia definition)
- buffalo.stl
- Rotate, Scale, and translate as necessary to find and position the object. Also, Zoom Extents
- Simplification (MeshReduce)
- Edit directly - PointsOn, and directly manipulating points on the mesh.
- Closed vs Open Meshes
- We need closed meshes for 3DP. Object properties will tell you if a mesh is an open or closed mesh.
- Attempt to patch an open mesh: Mesh -> Repair Tools -> Fill All Holes
- Rhino Mesh Repair tools
Extracting Contours from a Mesh
Clean up the Mesh
- Importing and slicing a complex mesh
- Finding a mesh (thingiverse.com)
- Importing a mesh into rhino
- Slicing a mesh with the contour command
- slicing/design for digital fabrication (material thickness considerations)
- Simplifying mesh
- Go from mesh to unrollable surface:
the NEW way (Rhino 8)
- In the top view, select your object and create a ClippingSection centered on the origin.
- In the front view, use Array to copy the sections. Try 1 for X, 24 for Y, 1 for Z.
- Select your stack of ClippingSections, and use NestedClippingDrawing to create a flat layout of those clipped sections.
Reference: see Sectioning for Fabrication https://www.rhino3d.com/stories/fabrication/sectioning-for-fabrication/
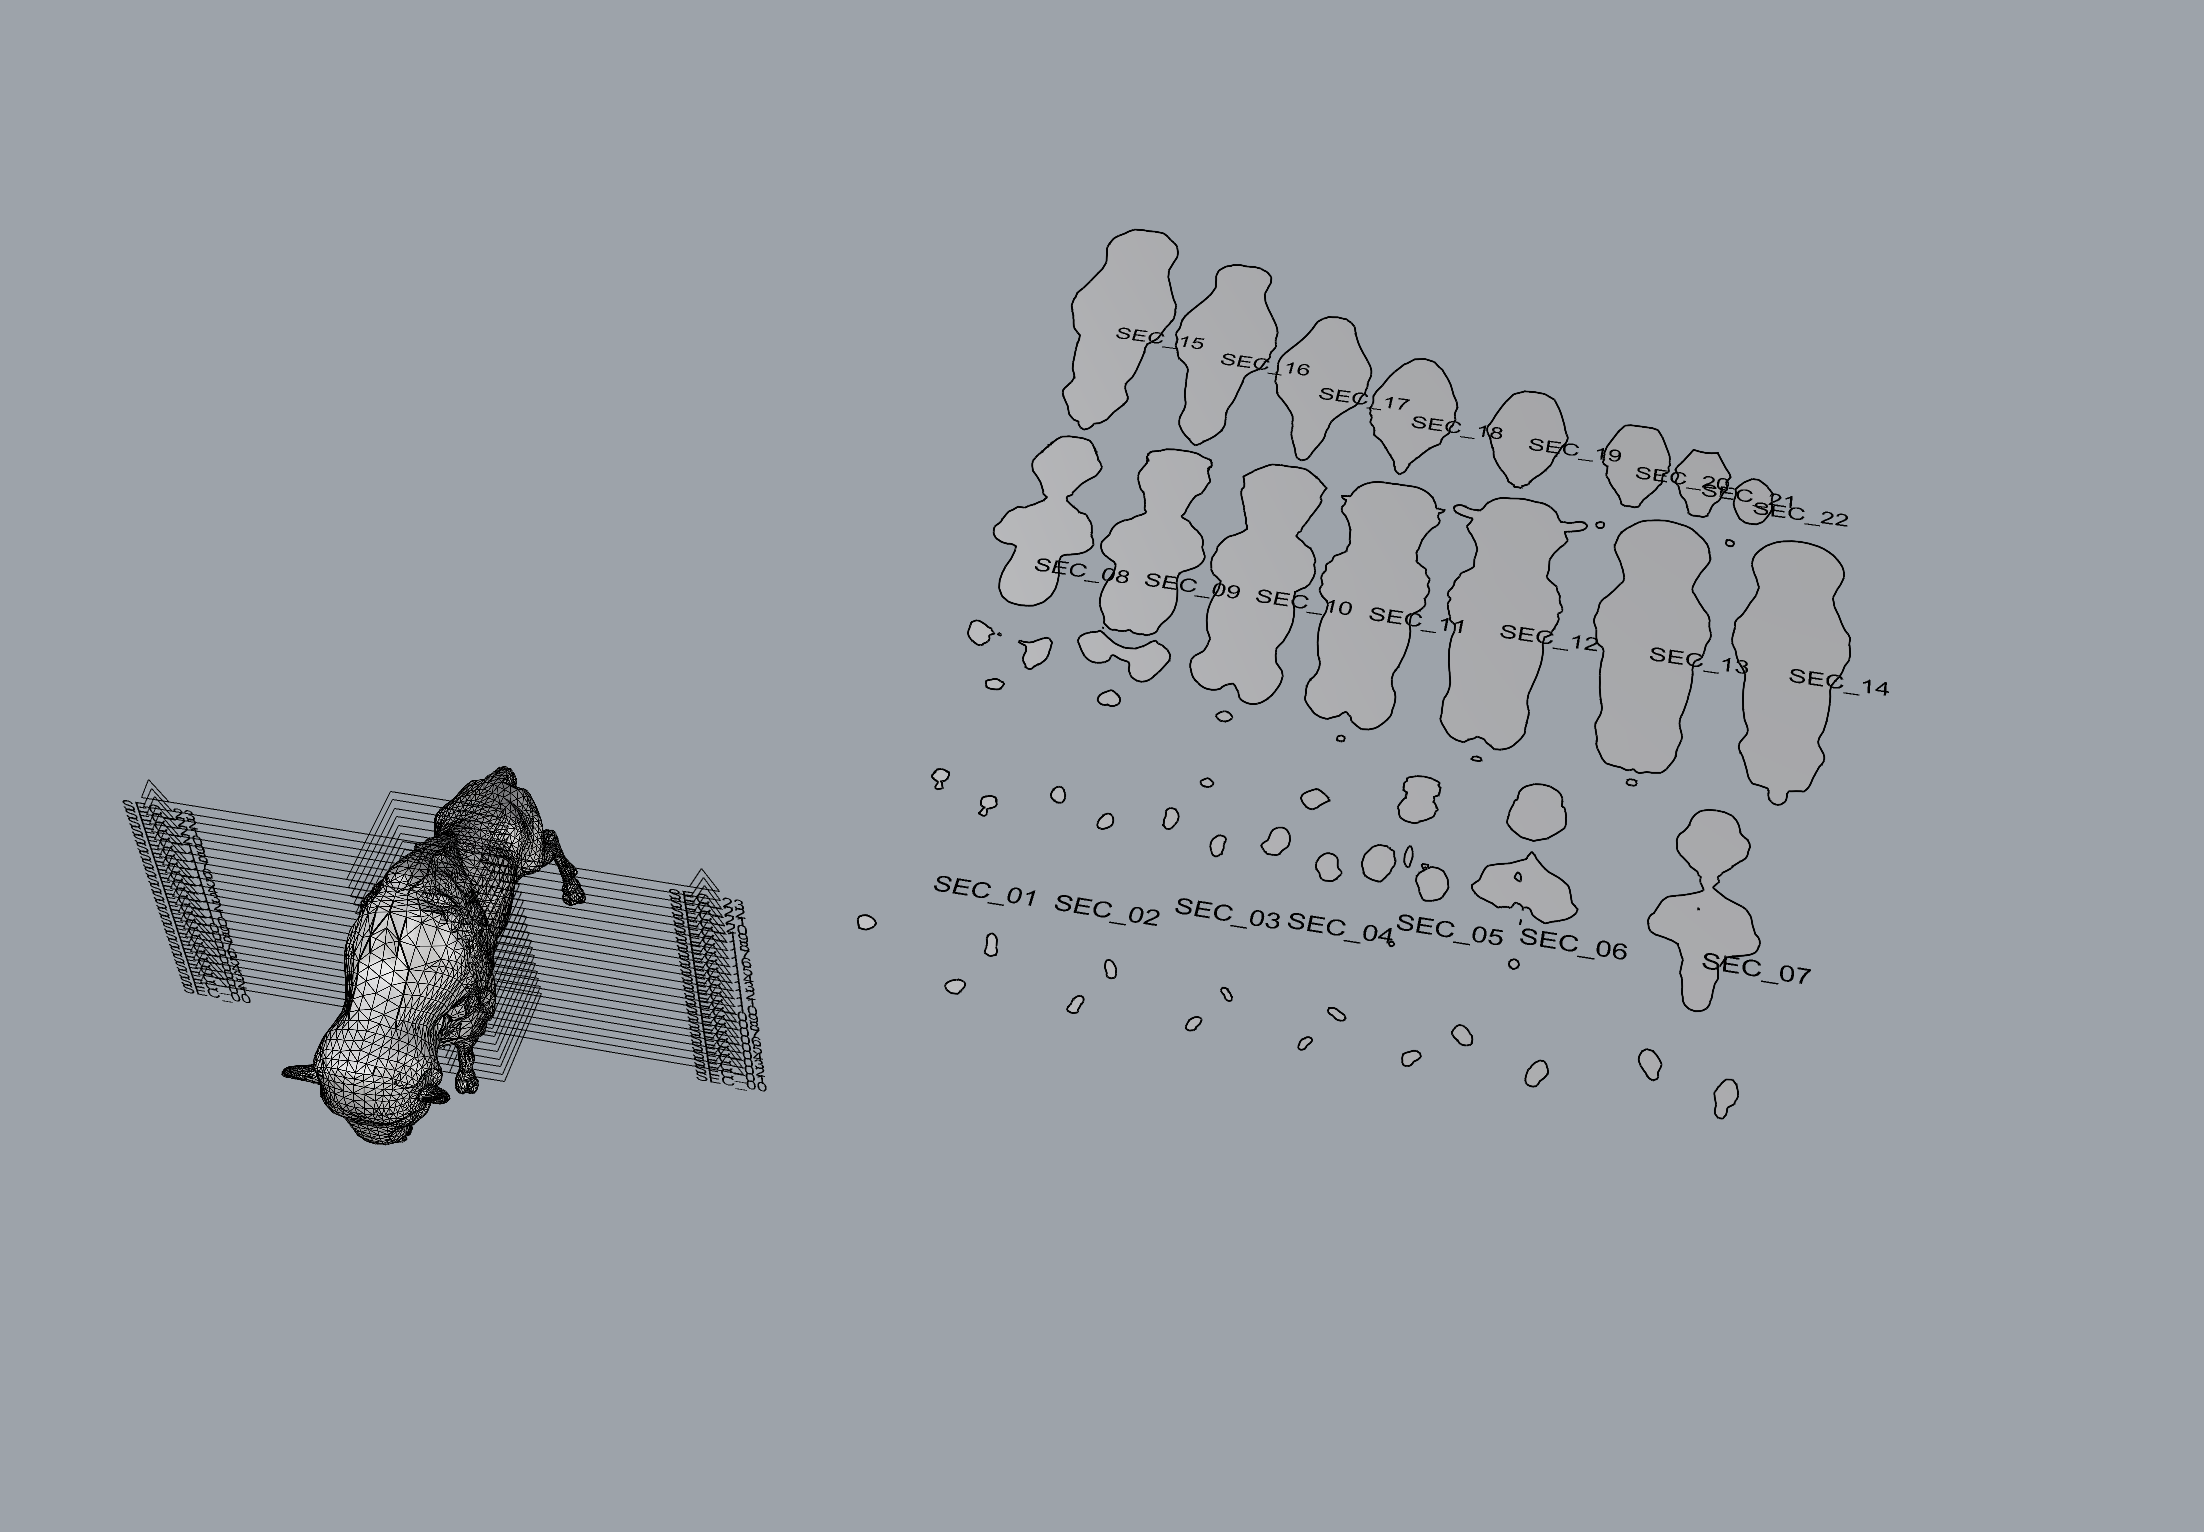
Example File: Buffalo Clipping Sections
Rhino file: buffalo-clipping-sections.3dm
the OLD way
- Slicing a 3d mesh or surface object into 2d stacks
- the contour command
- contour_command.3dm
- contour_shear_flatten.3dm
Example File: Buffalo Contours

Rhino file: buffalo_contours.3dm
Example File: Sliced Pikachu

Rhino file: sliced_pikachu.3dm
Video Demo: Extracting Contours from Mesh
Video Demo Meshes and extracting contours (google drive video)
Homework
- Finish Exercise 2: 3D Tab and Slot (canvas submission) DUE Thursday 10/10, Design and Fabricate
Leftovers
- Slicing / panelling tools (breaking 3d structure down into 2d components that can be assembled)
- Parametric design for kerfs and 3d structures (grasshopper)