ucsd-compfab
Week 2.2 - Laser to 3D: Stacked Contours
Agenda
- Artist of the Day
- Hands-On
- Homework
Artist of the Day
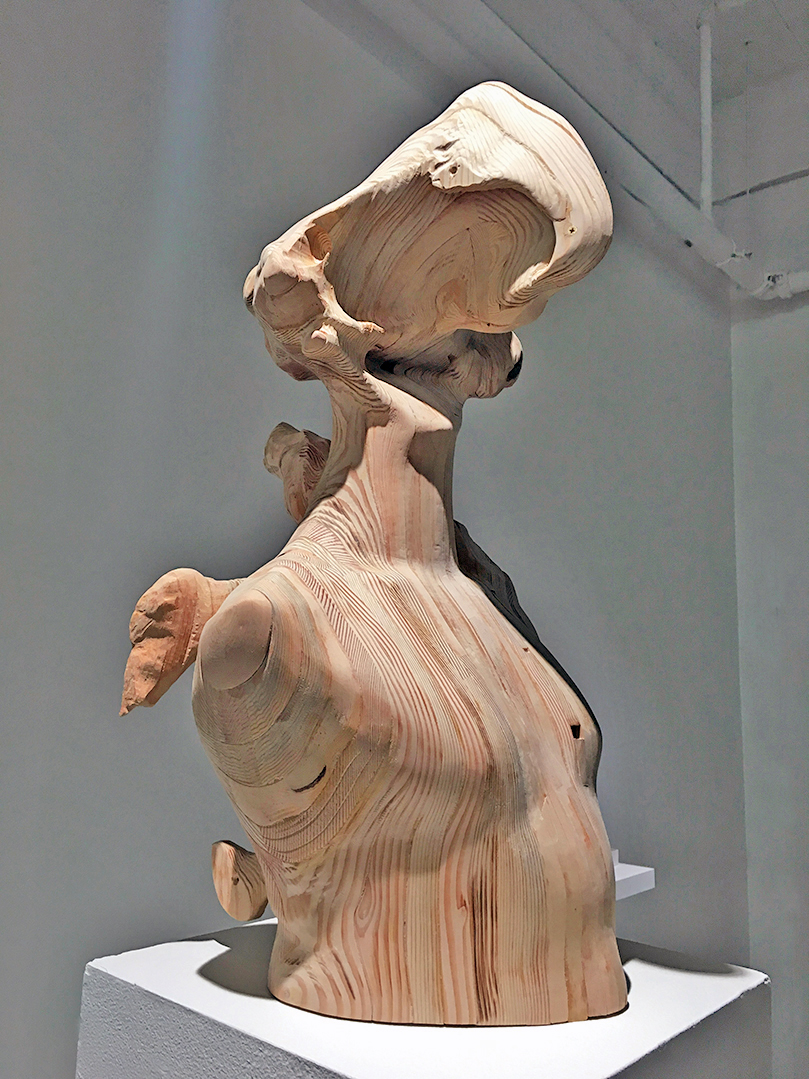
Inmi Lee. I will not dance (2016)
Also:
Handson
Continuing with extracted contours.
1. Download a Mesh
From the internet. Where to get 3d meshes?
- Printables: https://www.printables.com/
- Thingiverse: https://www.thingiverse.com/
- Sketchfab: https://sketchfab.com/features/free-3d-models
- Thangs: https://thangs.com/ (have to register I believe)
2. Extracting Contours from a Mesh
Clean up the Mesh
- Importing and slicing a complex mesh
- Finding a mesh (thingiverse.com)
- Importing a mesh into rhino
- Slicing a mesh with the contour command
- slicing/design for digital fabrication (material thickness considerations)
- Simplifying mesh
- Go from mesh to unrollable surface:
the NEW way (Rhino 8)
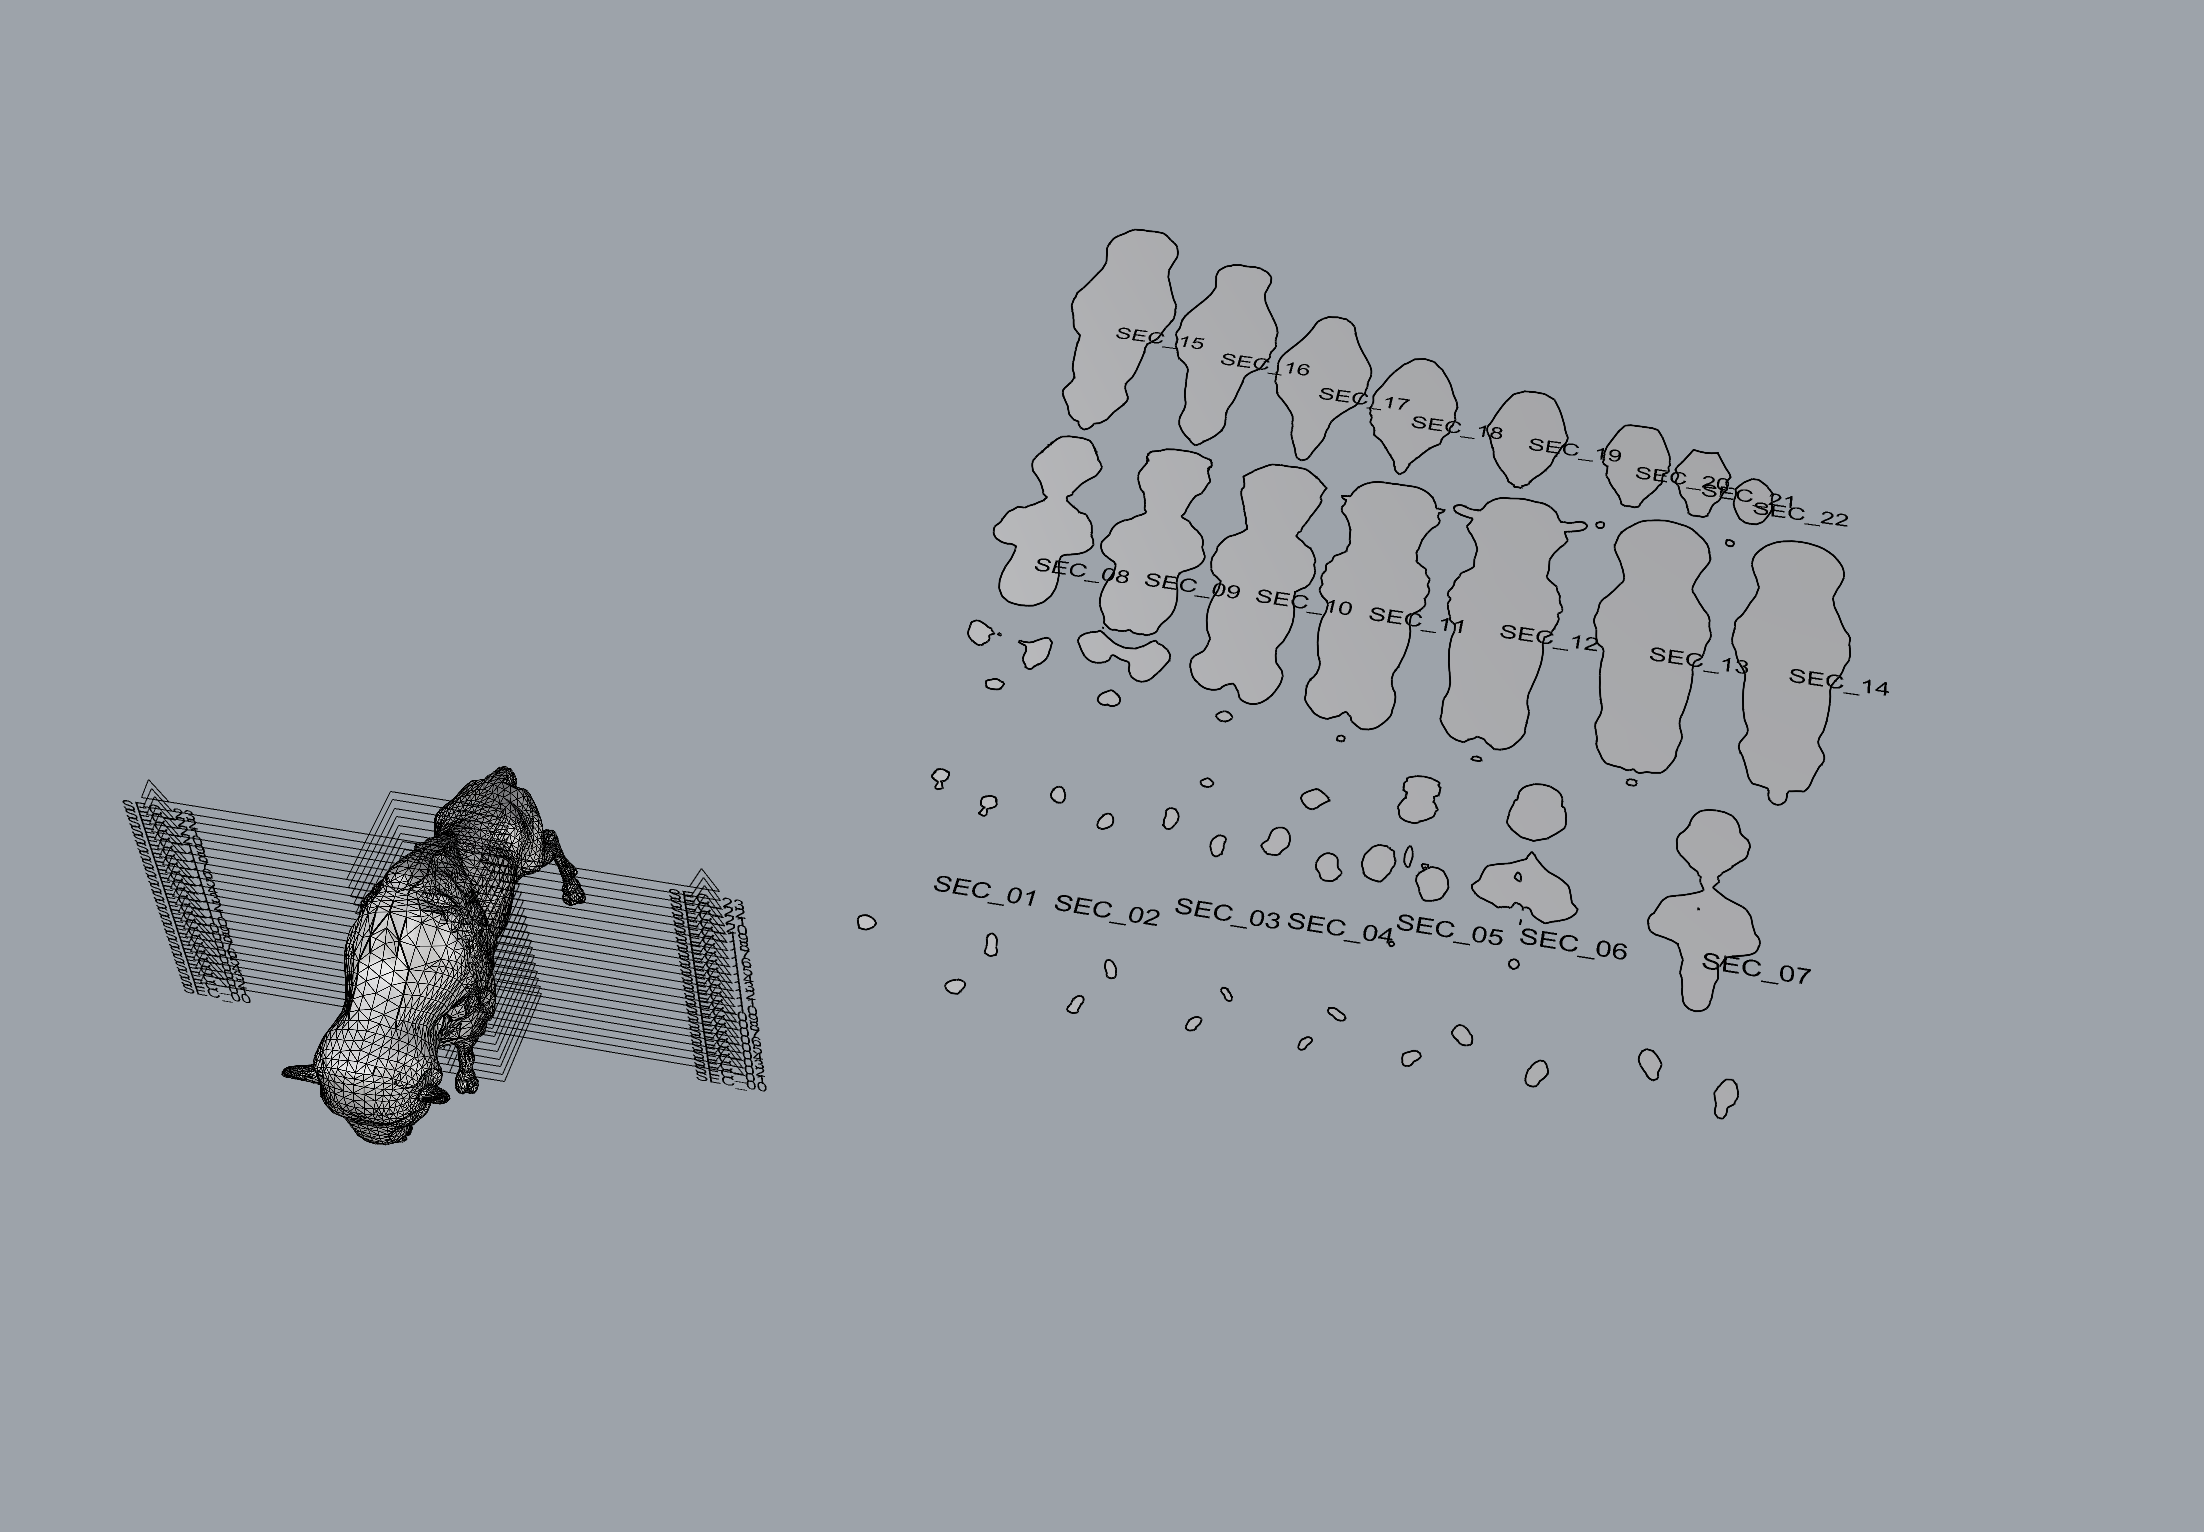
- In the top view, select your object and create a ClippingSection centered on the origin.
- In the front view, use Array to copy the sections. Try 1 for X, 24 for Y, 1 for Z.
- Select your stack of ClippingSections, and use NestedClippingDrawing to create a flat layout of those clipped sections.
Reference: see Sectioning for Fabrication https://www.rhino3d.com/stories/fabrication/sectioning-for-fabrication/
Example File: Buffalo Contours

Rhino file: buffalo_contours.3dm
Example File: Sliced Pikachu

Rhino file: sliced_pikachu.3dm
3. Fabricate
Fabricate out of flat material with the laser cutter.
Video Demo: Extracting Contours from Mesh
Video Demo Meshes and extracting contours (google drive video)
Homework
- HW3 Stacked Contours Design Only NO FABRICATION (Due Tuesday 10/15)
- Start ideating for Project 1 (DUE Tuesday 10/22)
References
[TK]