unl-digifab
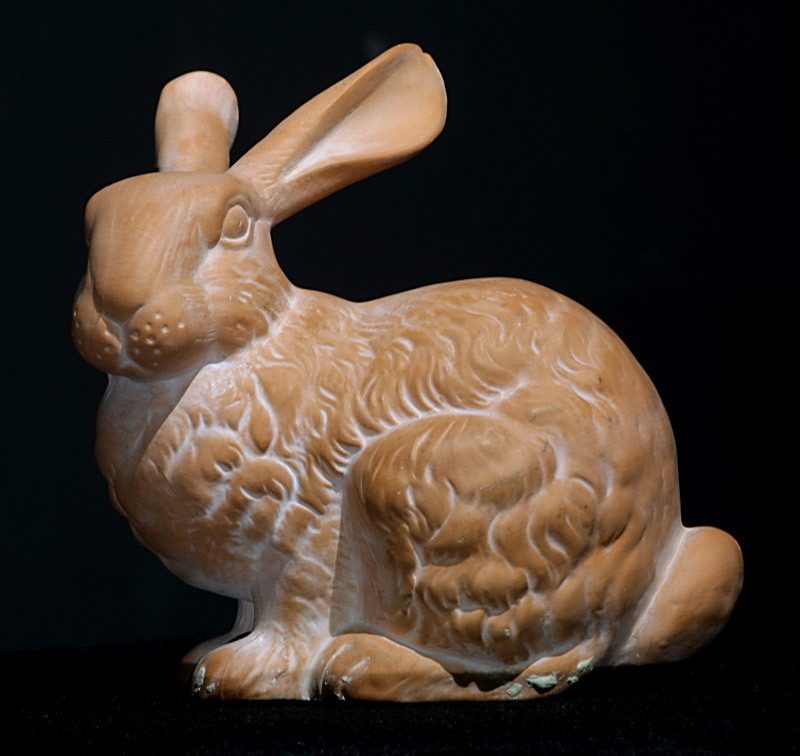
The Stanford Bunny (1994). An unassuming, historic piece of digital statuary. Read the longer, illustrated history of the Stanford Bunny.
Real World and Back Again
Using 3D Scanner App (or polycam), you are going to digitize a real object. The LIDAR scanning on the ipad is a little low-res, so try to digitize something relatively large. We are then going to import this into Rhino, add base, etc., to prepare it for 3D printing, and then export as an STL file.
Process
- Capture a 3d scan (LIDAR with ipad or photogrammetry) of a real object.
- Process the scan. (HD or Fast)
- Edit the scan.
- Simplify if necessary:
More->Simplify Scan - Export.
- Export your file as an OBJ file (zipped) with photo texture. This will produce a JPG, a material file (.MTL), and an object file (.OBJ).
- You need all three files for the textured object to appear correctly (with photos) in Rhino.
- Copy your file to your computer with onedrive, airdrop, or your preferred method.
- Import your OBJ into Rhino.
- Your 3d scanned file will likely be very large (40MB+). Use
ReduceMeshin Rhino to simplify the file before working with it.
- Your 3d scanned file will likely be very large (40MB+). Use
- Edit the model, add base, add text, prepare for 3D printing.
- Export as an STL file.
Submission
- Canvas:
- Three screenshots of your 3d scans either in the scanning app (
More->Capture Thumbnail) or in Rhino (turn on “Rendered” mode to show photo textures). - Rhino file (.3DM)
- Your exported 3DP design (STL) file.
- (use the naming convention ex3_Lastname_1.jpg and ex3_Lastname.stl ex3_Lastname.3dm for the files.)
- Three screenshots of your 3d scans either in the scanning app (
- Sketchbook Updates:
- add images of the scans, Rhino file, and STL file to your sketchbook.
DUE 9/30, 9pm (Thursday) to Canvas
References
- The Stanford Bunny is one of a number of significant objects from the history of computer science. Read about more of these significant objects from computer graphics in the book Image Objects: An Archeology of Computer Graphics by Jacob Gaboury (2021)