ucsd-et4a
Week 5 - Spooky Action at a Distance

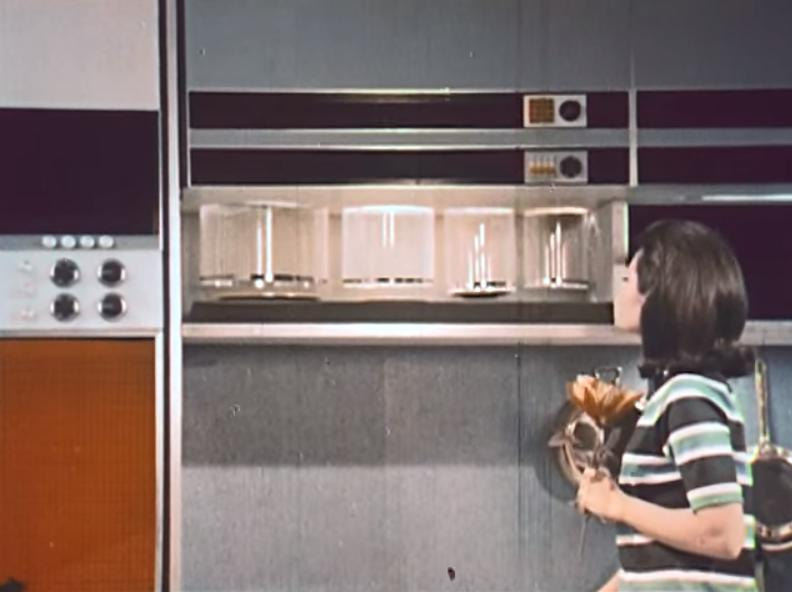
Philco-Ford 1999 A.D. (1967)
Agenda
- Discuss: E.A.T. and An Attempt at Exhausting a Place
- Hands-On
- Create a BLE device
- Homework
Discuss EAT and Exhausting a Place
Discuss Experiments in Art and Technology reading.
Hands-On
ESP32 Setup
ESP32S3 Dev Board - Tool of Imagination (TOI)
Overview of BLE
Talk through what Bluetooth Low Energy (BLE) is, and how it compares/differs from serial, WiFi, and other ways of connecting.
BLE Scanner App
nRF Connect is a good one for iOS, Anrdoid, and other OSes.
- search in your app store
- or download for computer https://www.nordicsemi.com/Products/Development-tools/nRF-Connect-for-Desktop
BLE LED
Control the onboard LED1 or LED2 using a BLE characteristic.
1. Compile and upload arduino code
You can keep the serial port open to see what is happening.
Be sure to change the device name to be something special to you! (And so you don’t conflict with your classmates)
1. Control with BLE scanner
- Use nrF Connect or similar to connect to your device.
- Select the service.
- Write a value of 0 or 1 to turn the LED on and off.
2. Control with p5js
Use a p5js app to connect to and control the LED.
- Open the sketch: https://editor.p5js.org/robert.twomey/sketches/aXwz43amQ
- Reset your ESP32 (RST button on upper right).
- (you can follow along in your serial monitor to see what is happening)
- In the p5 sketch click “Connect”, select and “Pair” to your device.
- Write a value of 0 or 1 to turn the LED on and Off.
3. Activity
- Wire up and control an external LED instead of the internal LED.
- Setup a number of external LEDs (3) and turn them on by number. i.e. 0 all off, 1 on, 2 on, 3 on.
- Try to control a buzzer or something similar.
BLE Button
Use the onboard switch (SW1) to control an on-screen sketch.
1. Compile and upload arduino code
You can keep the serial port open to see what is happening.
Be sure to change the device name to be something special to you! (And so you don’t conflict with your classmates)
1. Debug with BLE scanner
- Use nrF Connect or similar to connect to your device.
- Select the service.
- View the value of 0 or 1 as you press the button.
2. Control with p5js
Use a p5js app to connect and read the unboard switch.
- Open the sketch: https://editor.p5js.org/robert.twomey/sketches/8wQxLraNL
- Reset your ESP32 (RST button on upper right).
- (you can follow along in your serial monitor to see what is happening)
- In the p5 sketch click “Connect”, select and “Pair” to your device.
- Press the button on board (SW1) and watch the sketch change color.
3. Activity
- Change the p5 code to do something more interesting than set the background color.
- Wire up a potentiometer instead of a button to the ESP32, and change the arduino code to
analogRead()and publish the value.- Change the p5 code to change the color of the sketch continously as you turn the knob.
- Rewrite the p5 code to do something more interesting than change a background color (rotate an image, adjust the volume on audio playback, rotate a 3d object, something else)
Homework
- Reading and Discussion: 1999 A.D. (DUE 11/6 for discussion)
- HW 3 Remote Control (DUE 11/6 and in class presentation)
Reference
[TK]